Now that we have fully covered the basics of Web 3.0 and NFTs, it’s time to get to the real deal and acquire your first $MSU tokens so you can fully enter the first soccer metaverse.
As you might recall how to create your Binance account, first you’ll need to get some MATIC and DAI that you’ll use to trade $MSU.
So let’s get straight into it!
1. Go to Binance and log into your account. If you still don’t have one, you can check how to create it in the link above.
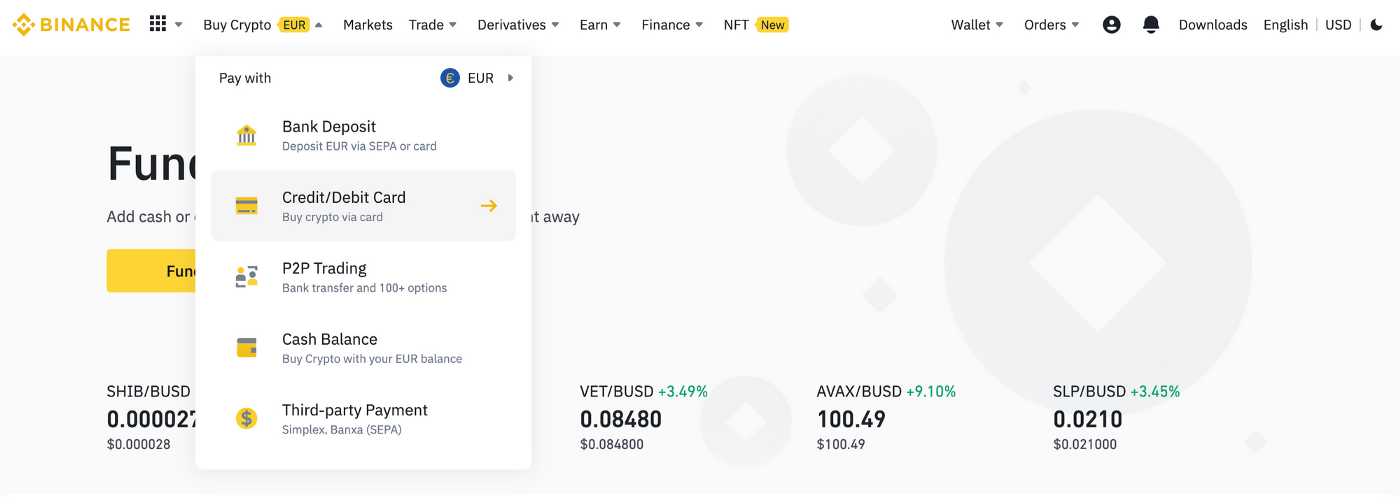
2. Once you’re logged in, click on “Buy Crypto” and select the option “Credit/Debit Card.”
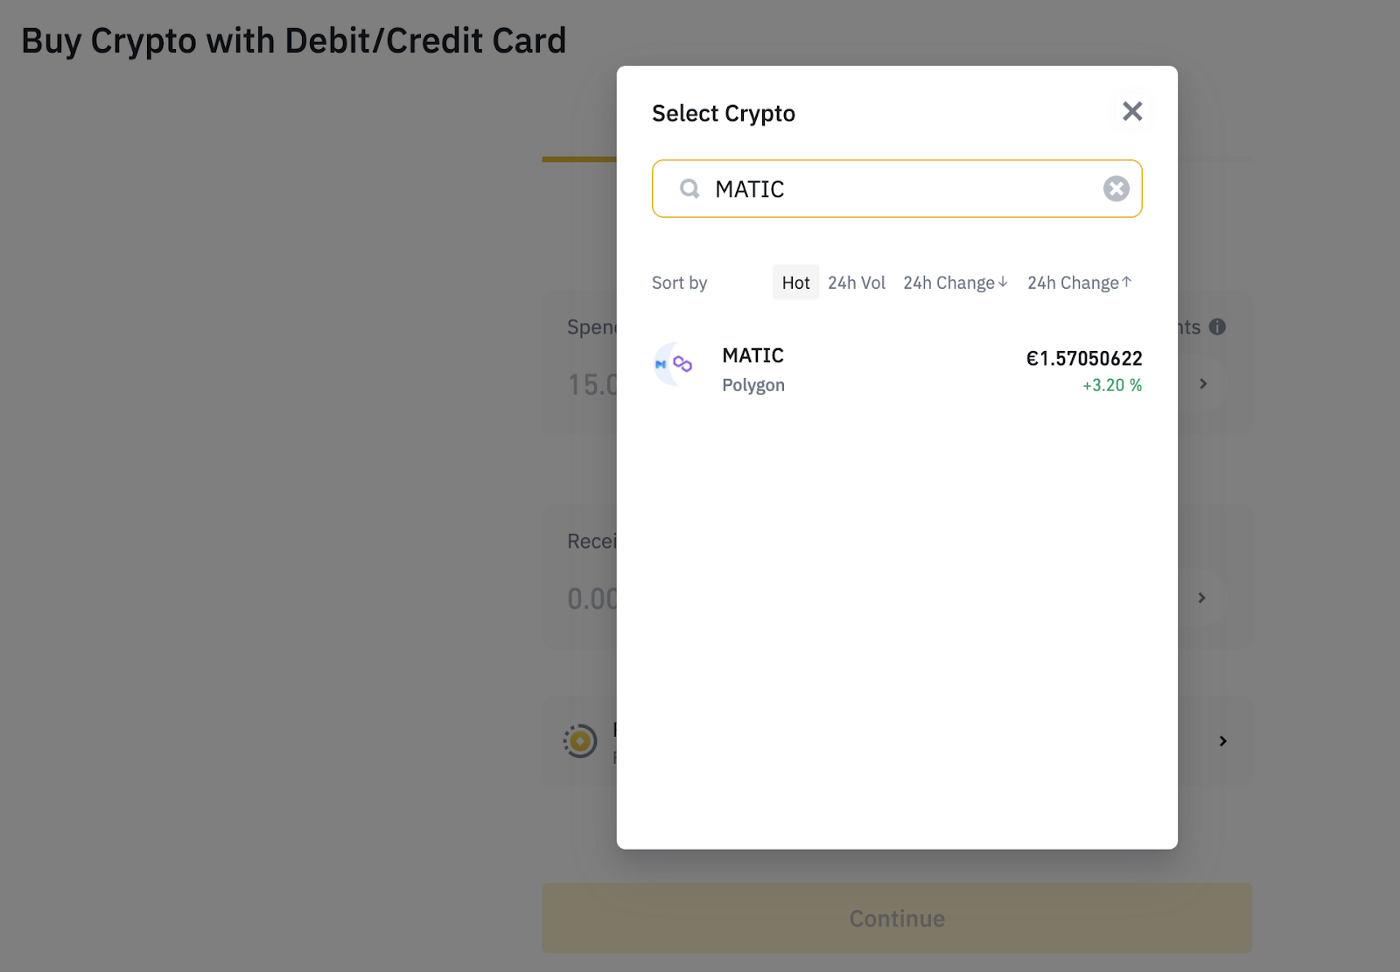
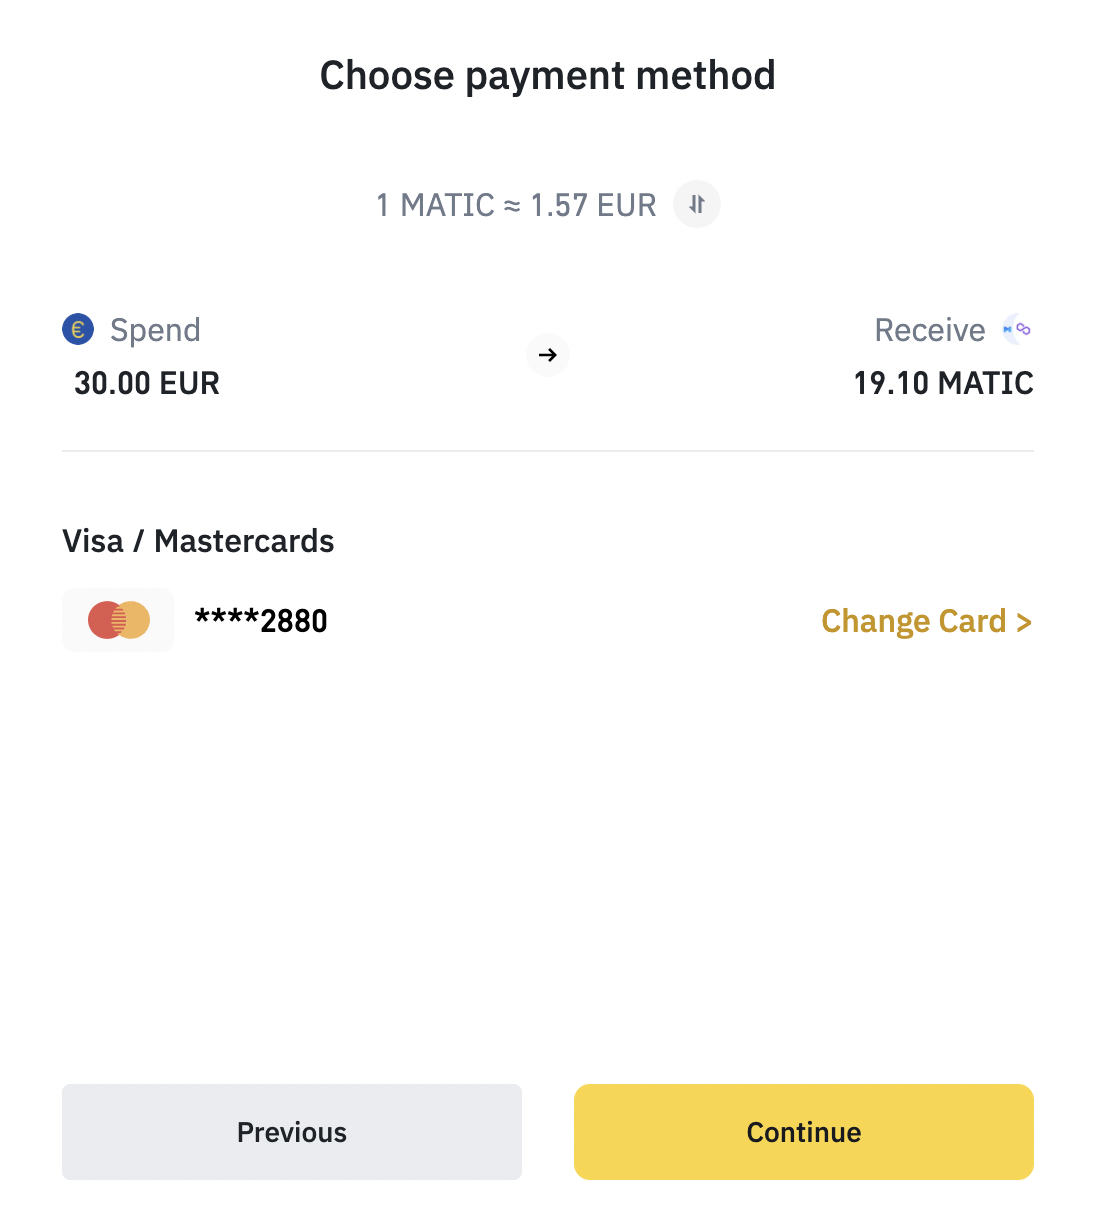
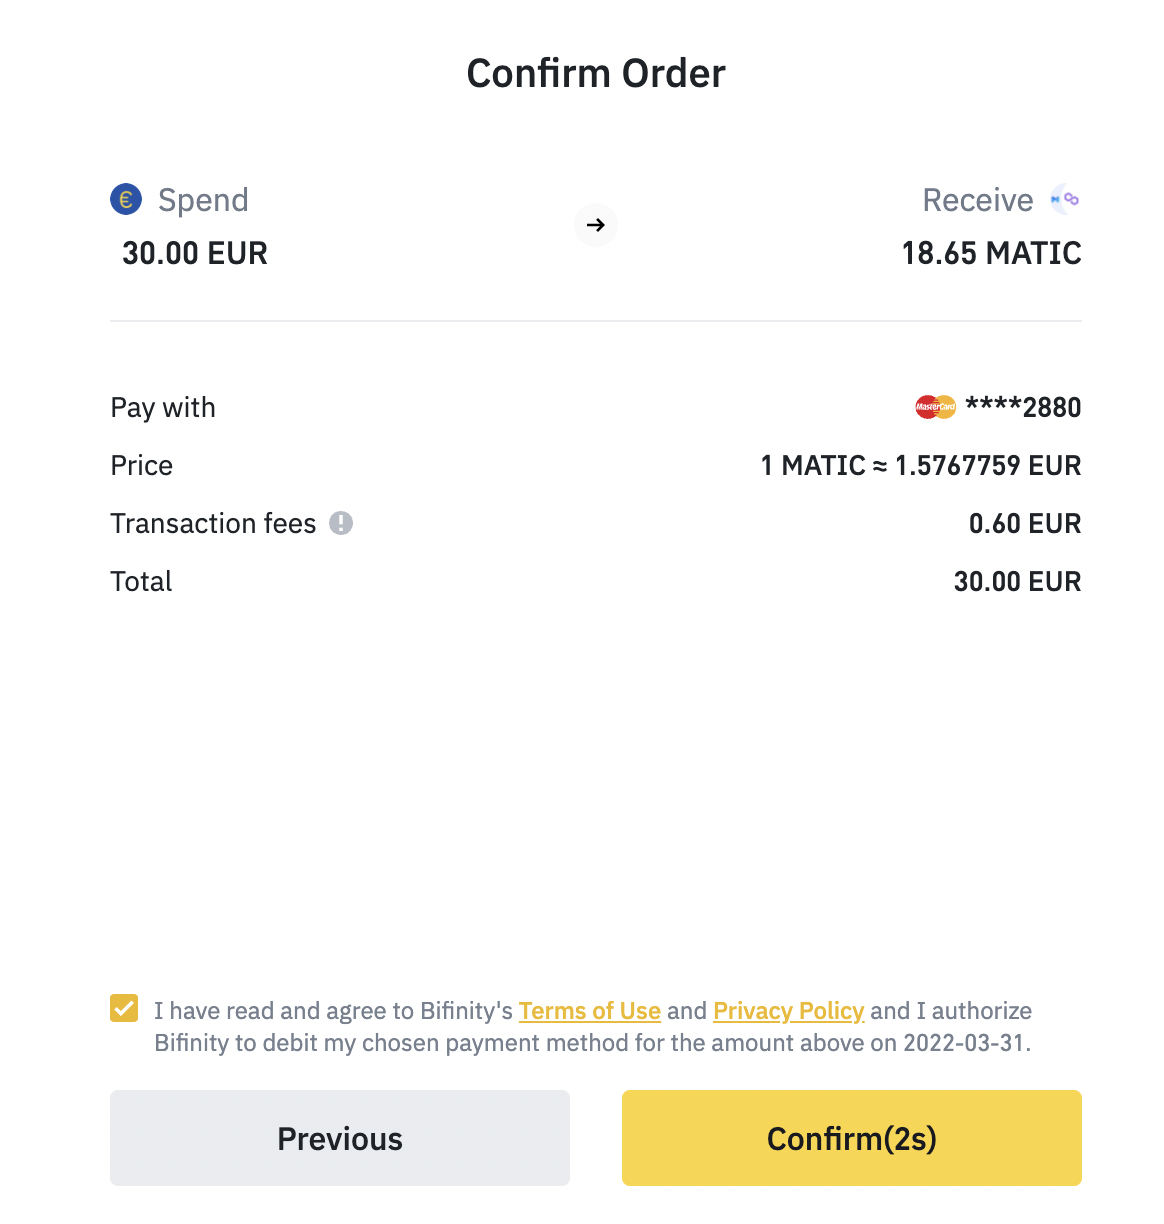
3. You may select your preference of currency to buy, according to your country. In this example, we are going to use euros as the “Spend” currency and select MATIC for the “Receive.”
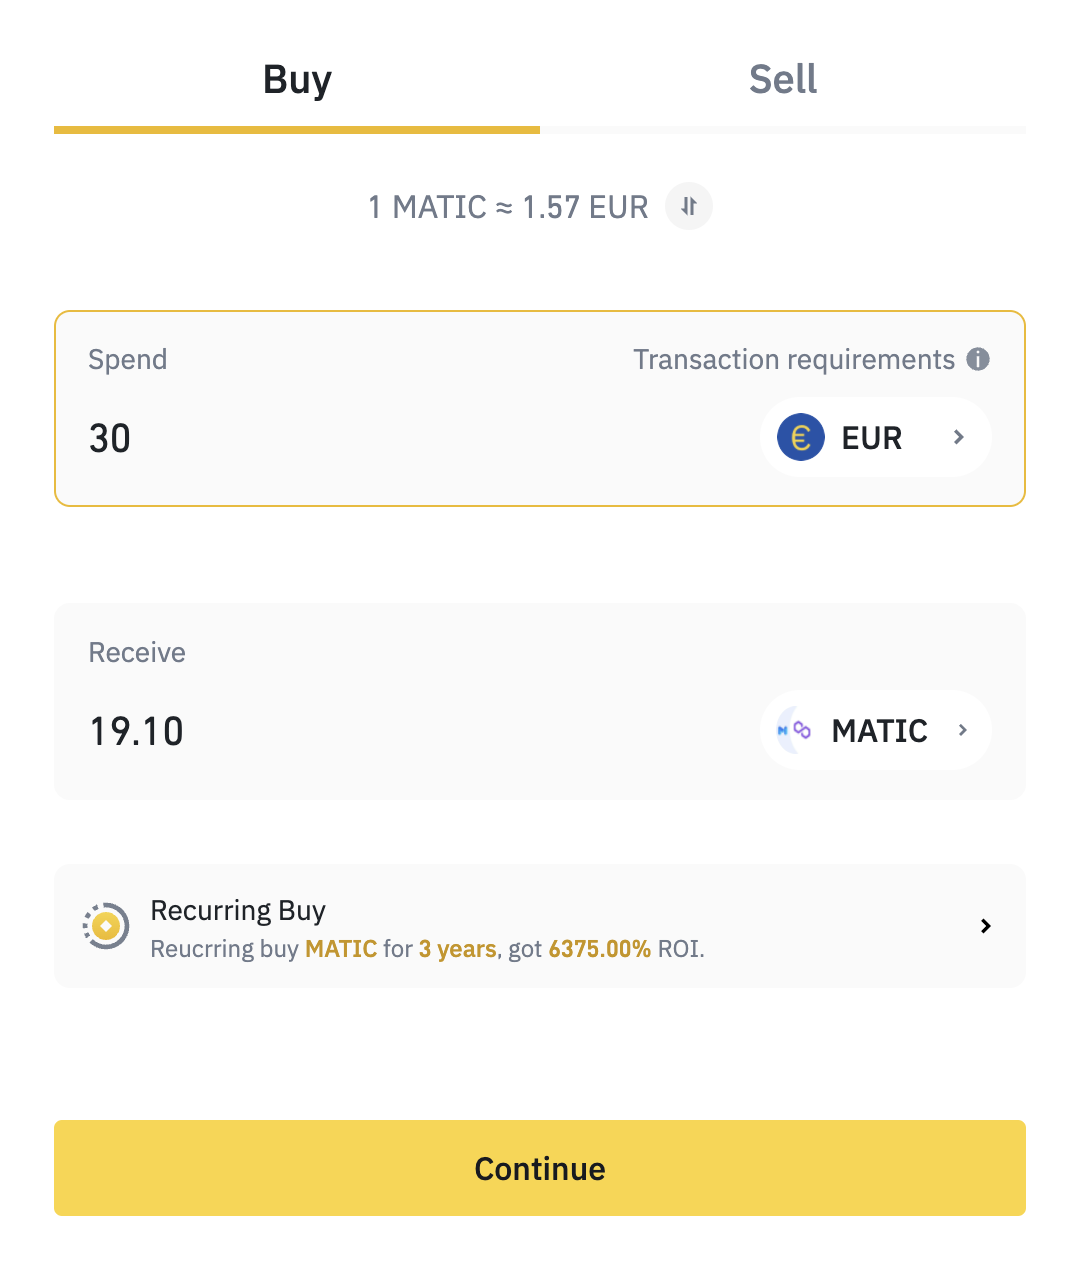
4. Insert the amount you want to buy on the “Spend” section and click on “Continue.”
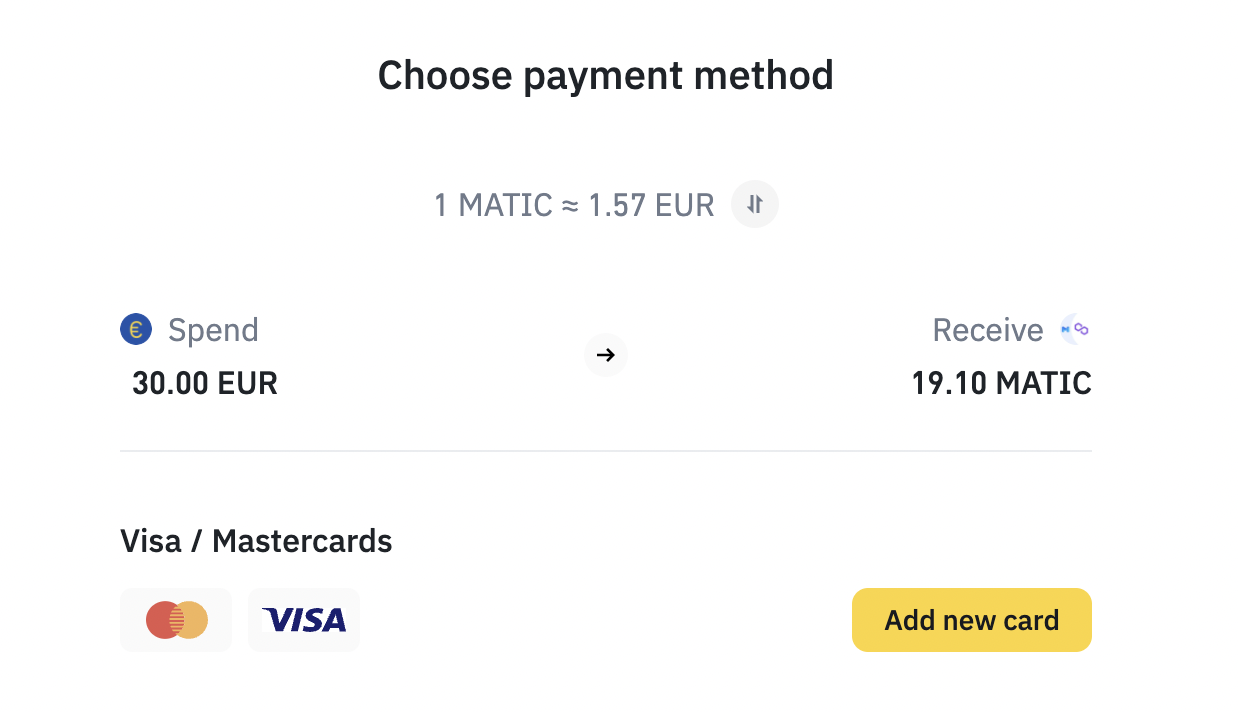
5. You can now add your card details simply by clicking on “Add Card.”
6. After your card is added, click on “Continue.”
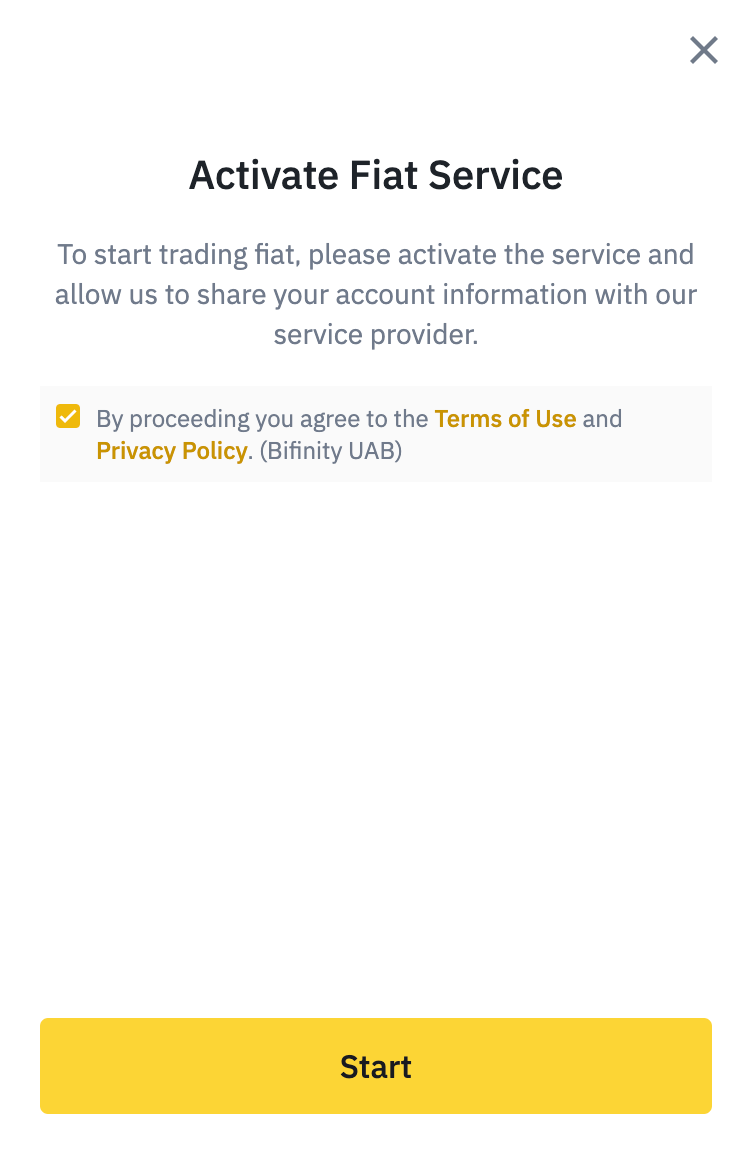
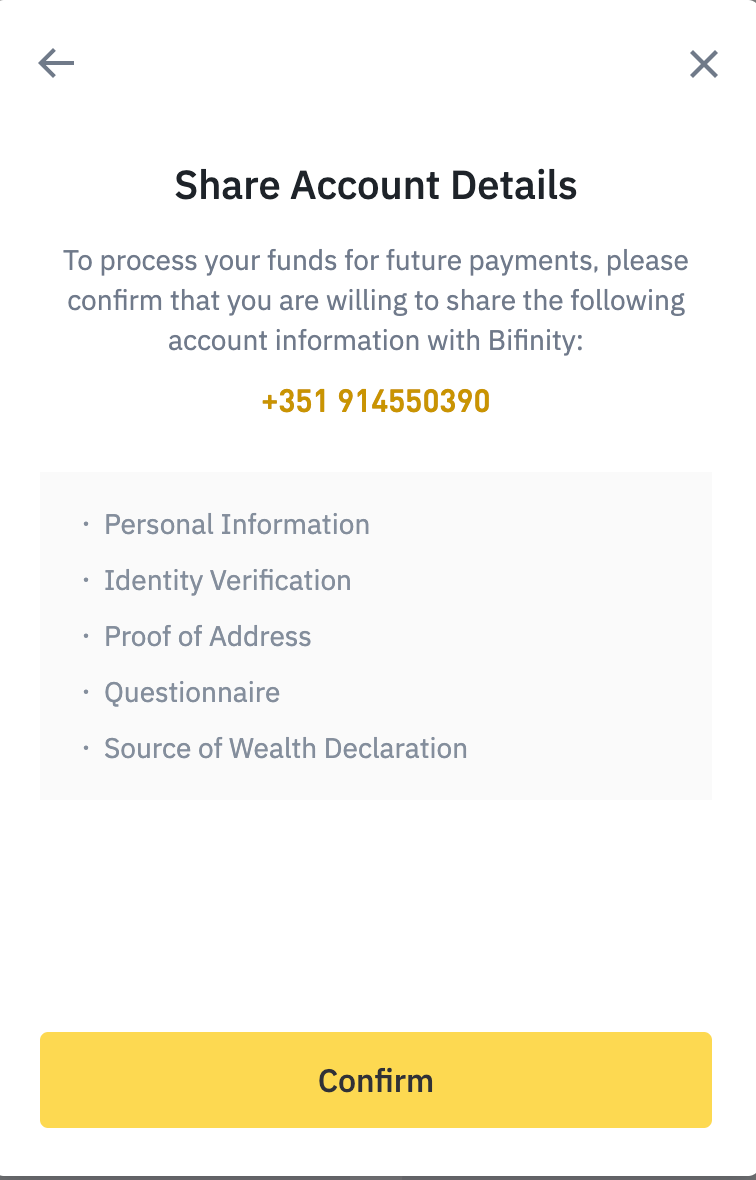
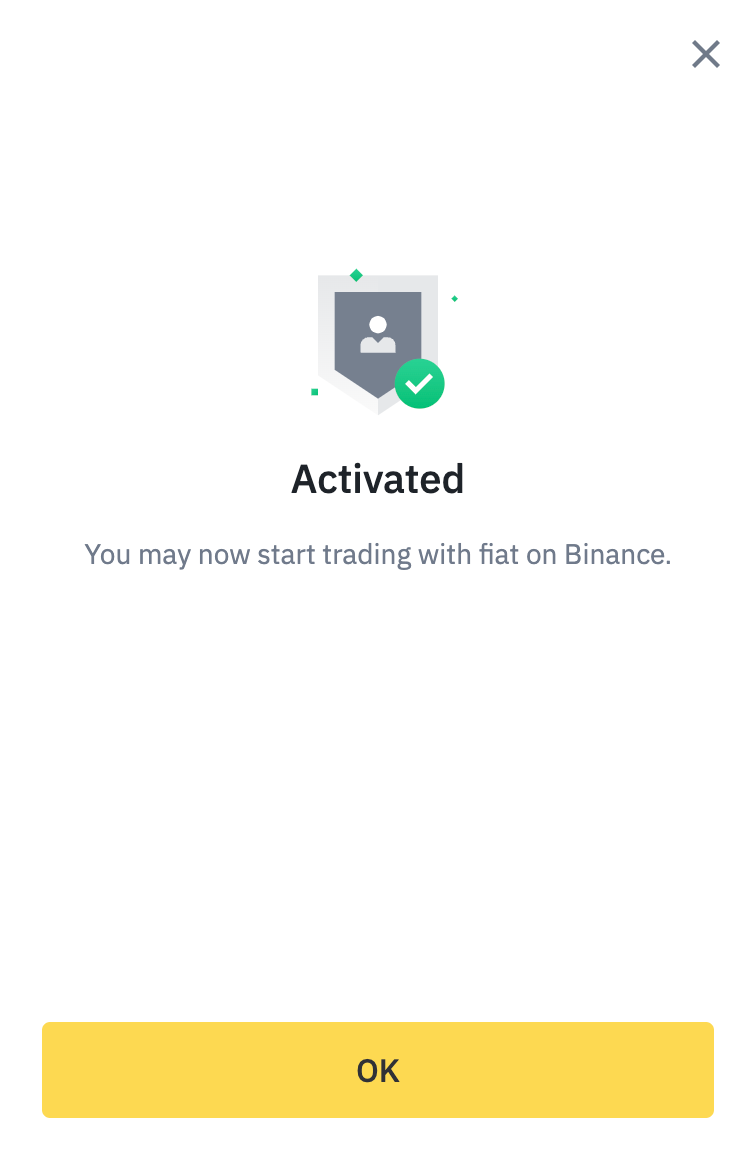
7. You are required to activate a Fiat Service, which is your permission to make an exchange using a Fiat currency (the money we use everyday, and whose value is not intrinsic but issued by a country’s government or central bank). Click on “Start” and “Confirm” and you’re done.

8. To finish the transaction, you have to “Confirm” your order, and possibly allow it in your bank app.
9. Click on “Go to Wallet” and you’ll find yourself in your Binance wallet, where you’ll see the amount of MATIC you have.
It’s now time to transfer your MATIC to your MetaMask wallet. If you don’t have one yet, check our tutorial on how to create one.
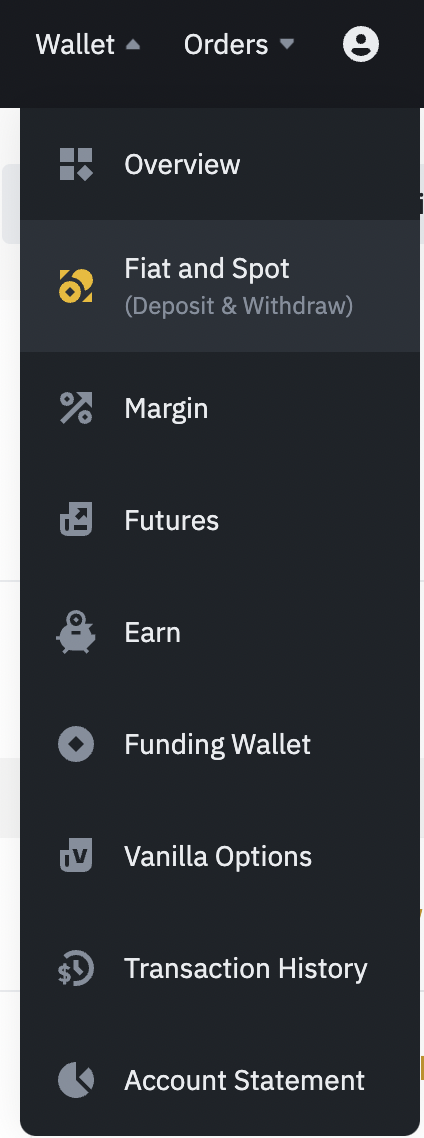
1. On your Binance Wallet, select the section “Fiat and Spot."
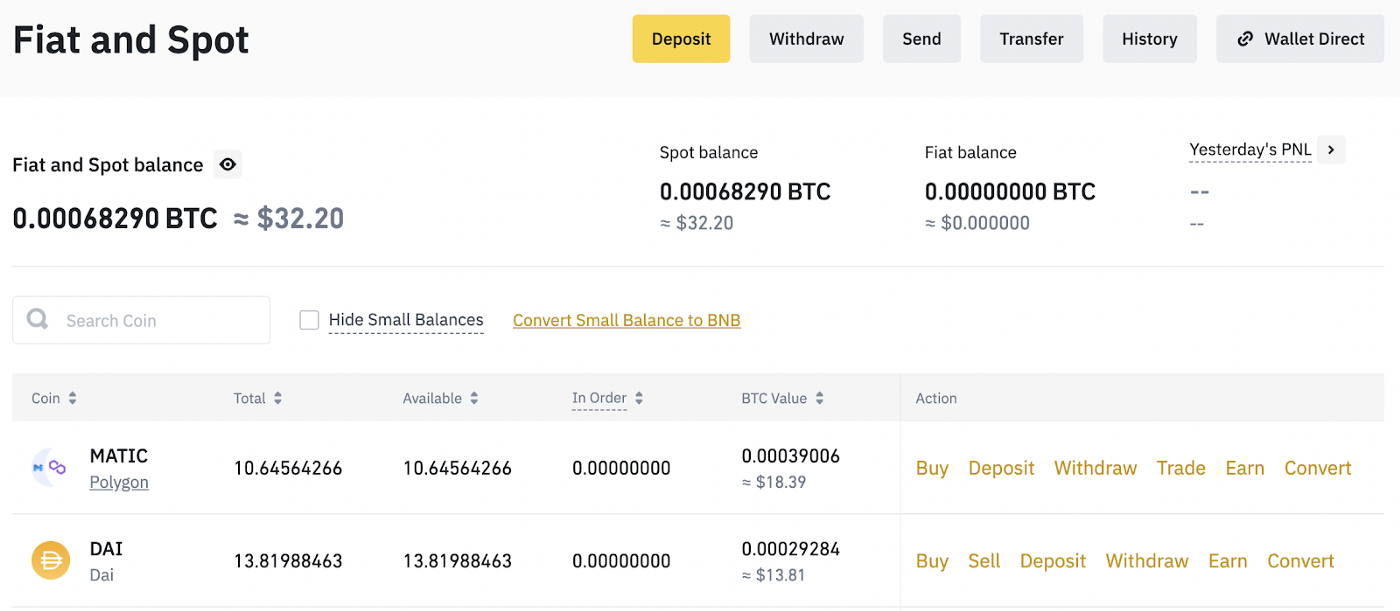
2. In front of MATIC select the option “Withdraw.”
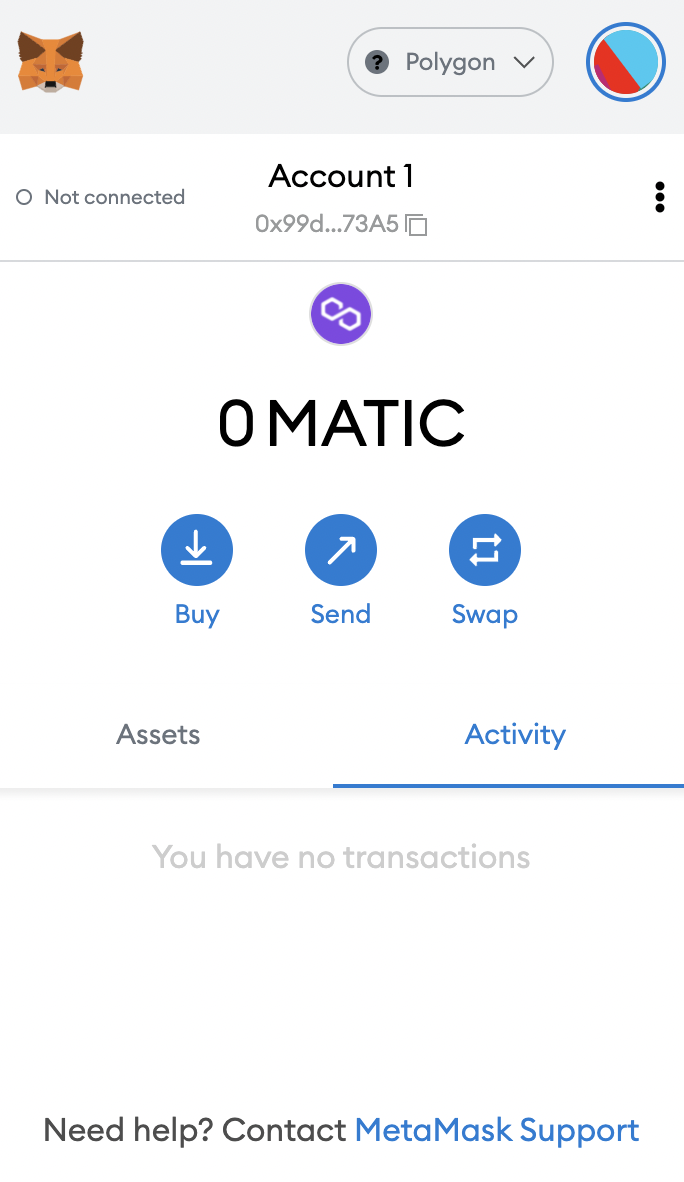
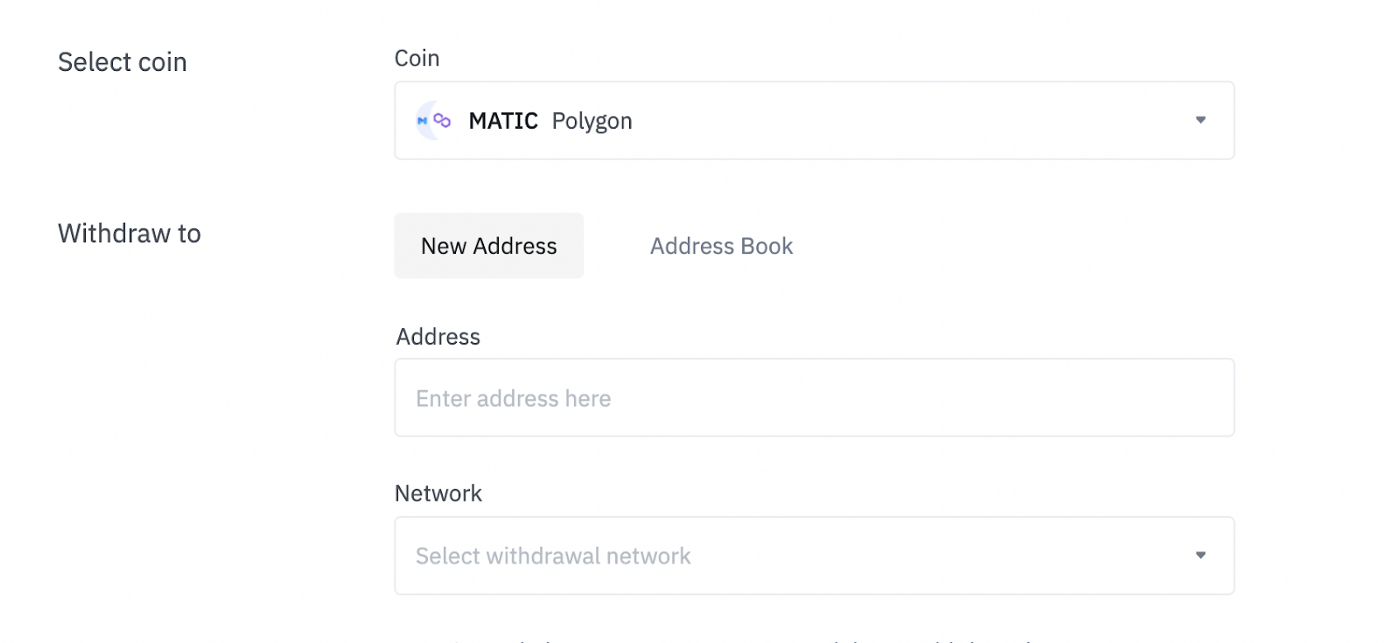
2. You’ll need to insert the address of your MetaMask wallet. Open your MetaMask extension and copy the address you see on top, below your account name.
3. Paste your address on the respective field, and select “MATIC Polygon” as the network. It might happen that the Polygon Network is unavailable at the moment. You can always come back later and check or select “Add reminder” so you’re informed when it’s available again.
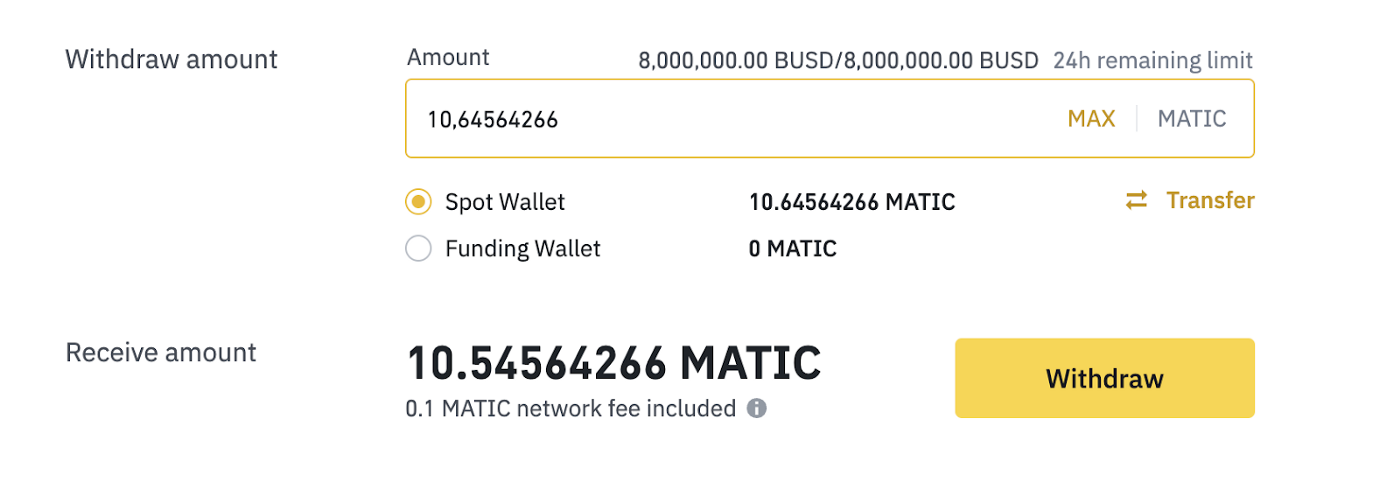
4. Select “Max” if you want the full amount to be transferred, and then click “Withdraw.”
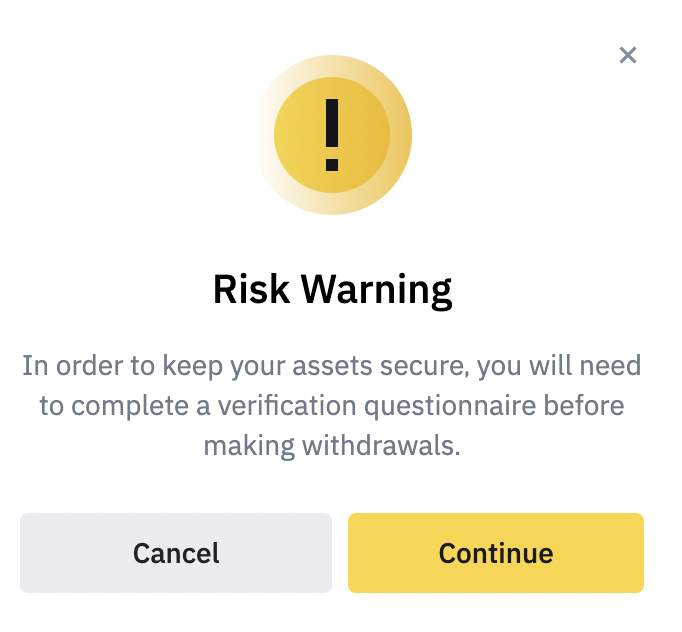
5. It’s possible that you get a warning message like the one below — you’ll then need to proceed to a simple questionnaire about transaction risks. Answer the questions, and you’ll be done.
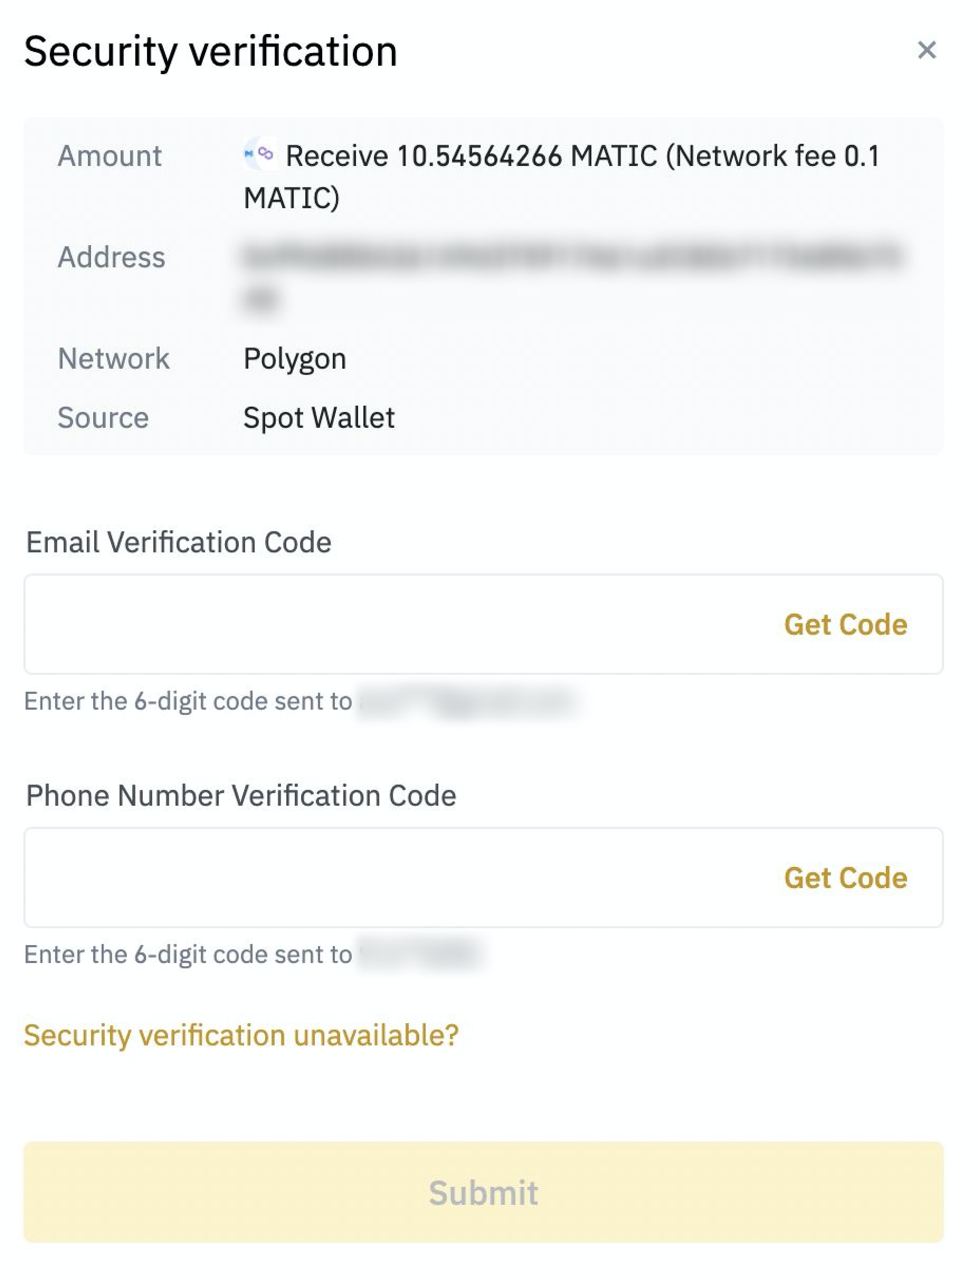
6. To complete the transaction you need to insert two verification codes: one received on your email and another received on your phone. Insert those codes, click on “Submit,” and your tokens will automatically appear on your MetaMask wallet.
MATIC is going to be used to pay a small amount of gas fees for your transactions. You now need DAI, the stable coin used on the Token Bonding Curve and that you’ll use to trade for $MSU.
Since we already bought MATIC, we’ll exchange some of that for DAI.
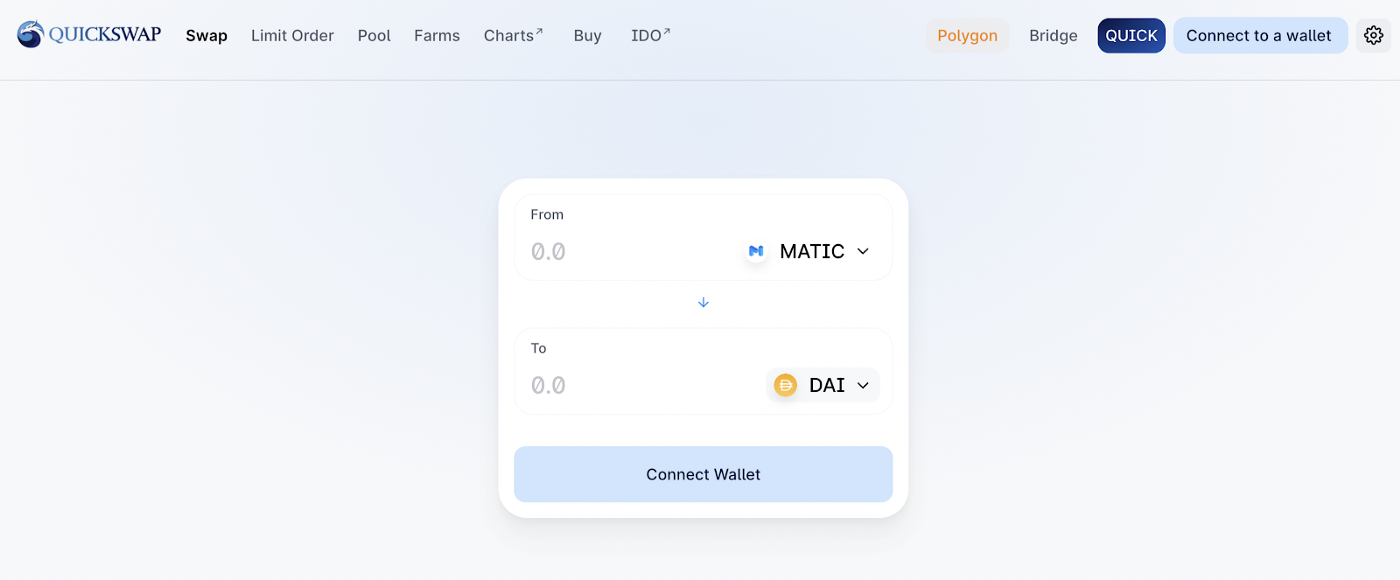
1. Go to QuickSwap, a fork of UniSwap that has lower exchange fees and that simplifies the entire process.
2. On the “From” field select MATIC, and on the “To” field select DAI.
After that, click on “Connect Wallet.”
3. Select MetaMask. Your MetaMask browser extension should open immediately, and then you have to allow access to connect.

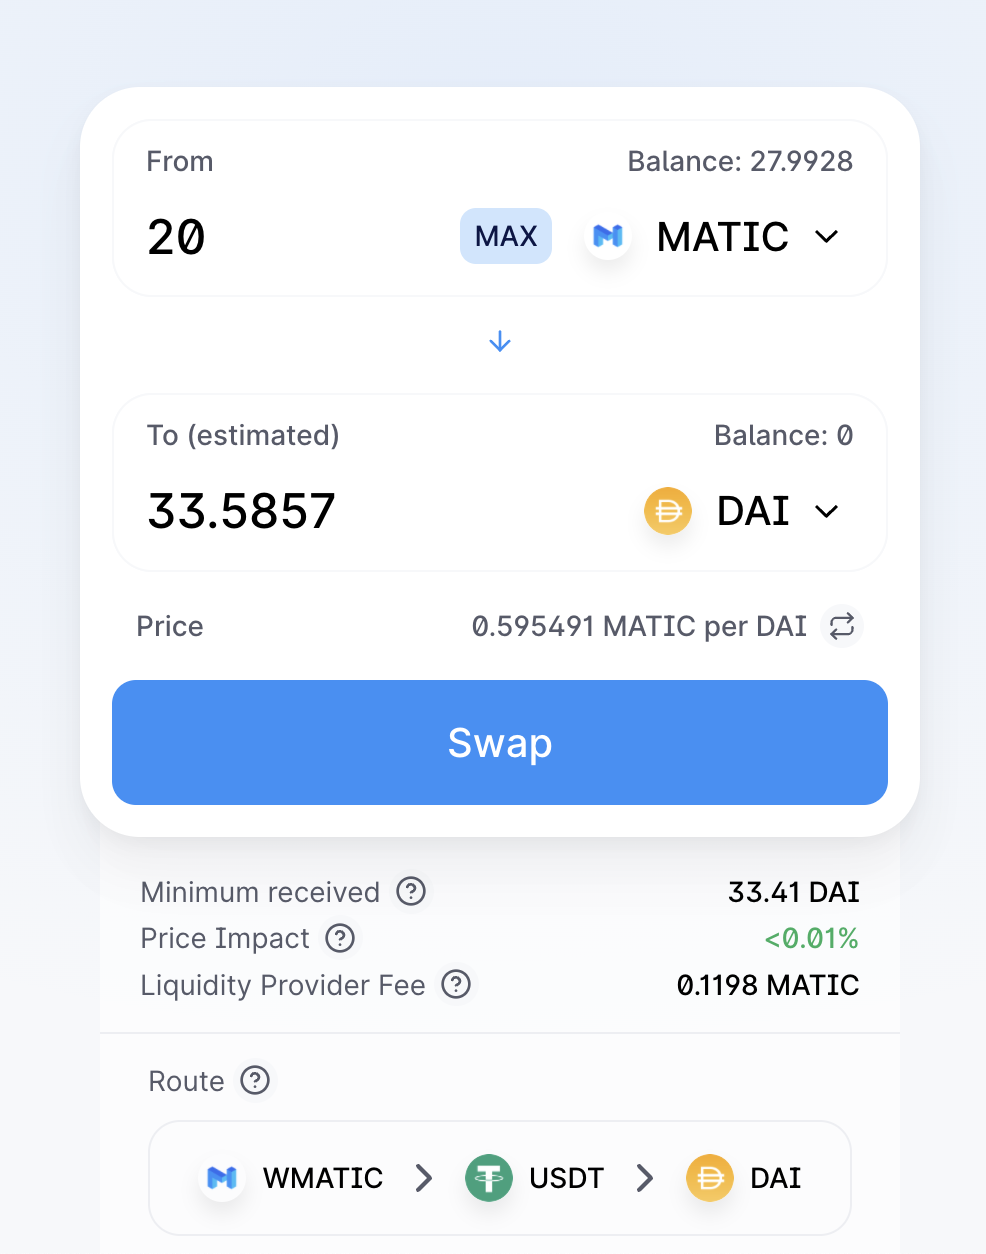
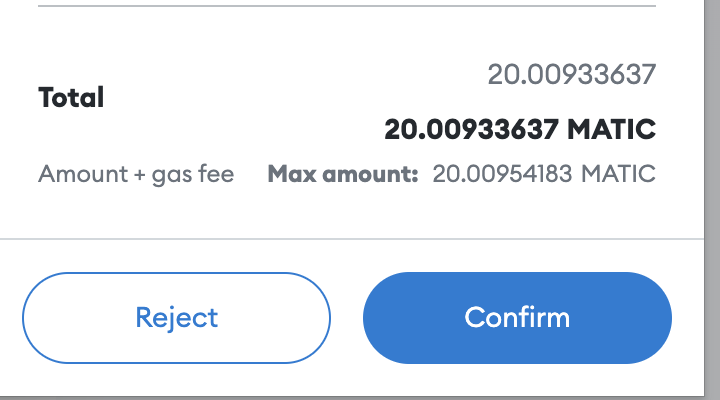
4. Your wallet must now be connected to Quickswap, so you just need to enter the amount of MATIC you want to trade for DAI. The value of DAI you’ll get will appear on the screen. To finalize the exchange, click on “Swap.” Confirm the action on the MetaMask browser extension.
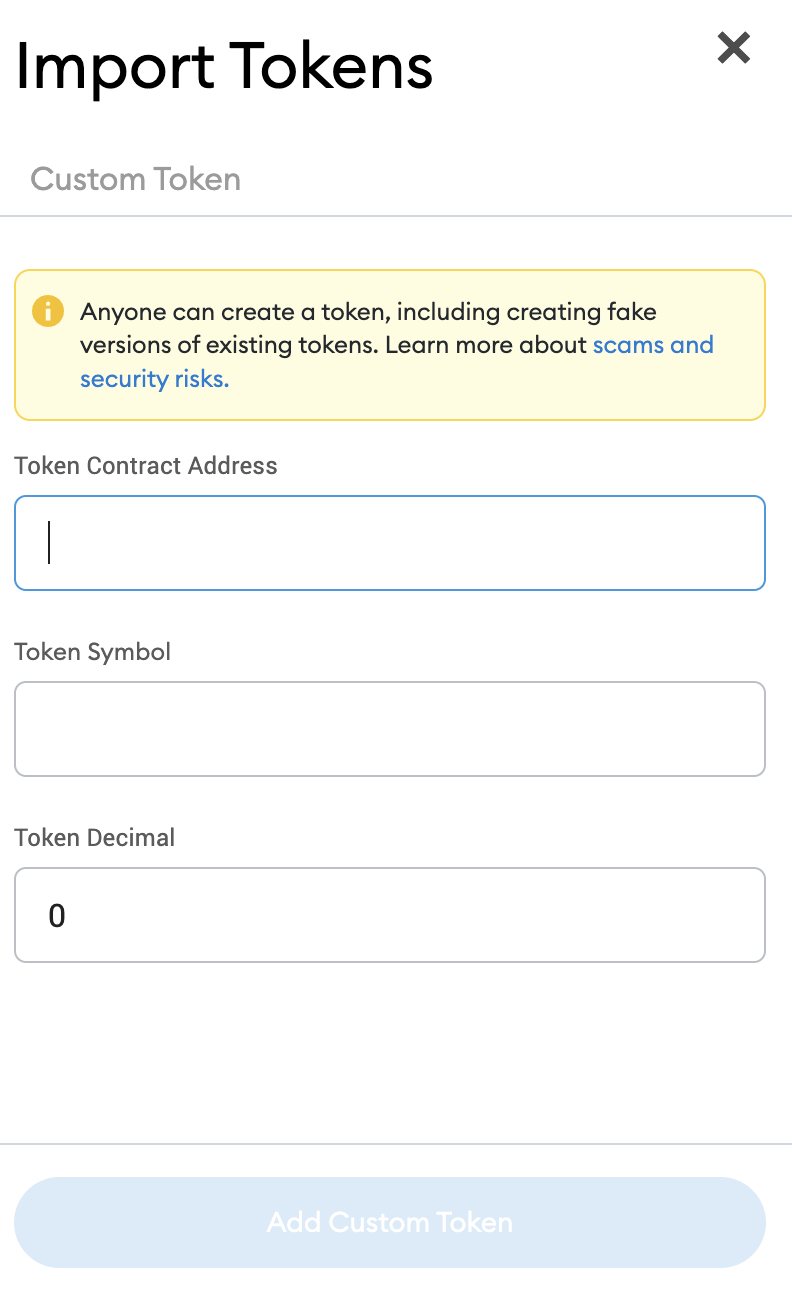
5. Back to your MetaMask, you need to add the DAI information for your tokens to appear.
It’s simple: click on “Import Tokens” and then add the corresponding information.
6. In order to import tokens, go to CoinMarketCap. On Contracts select “Polygon” and you’ll be directed to a new page, as shown in the images below.
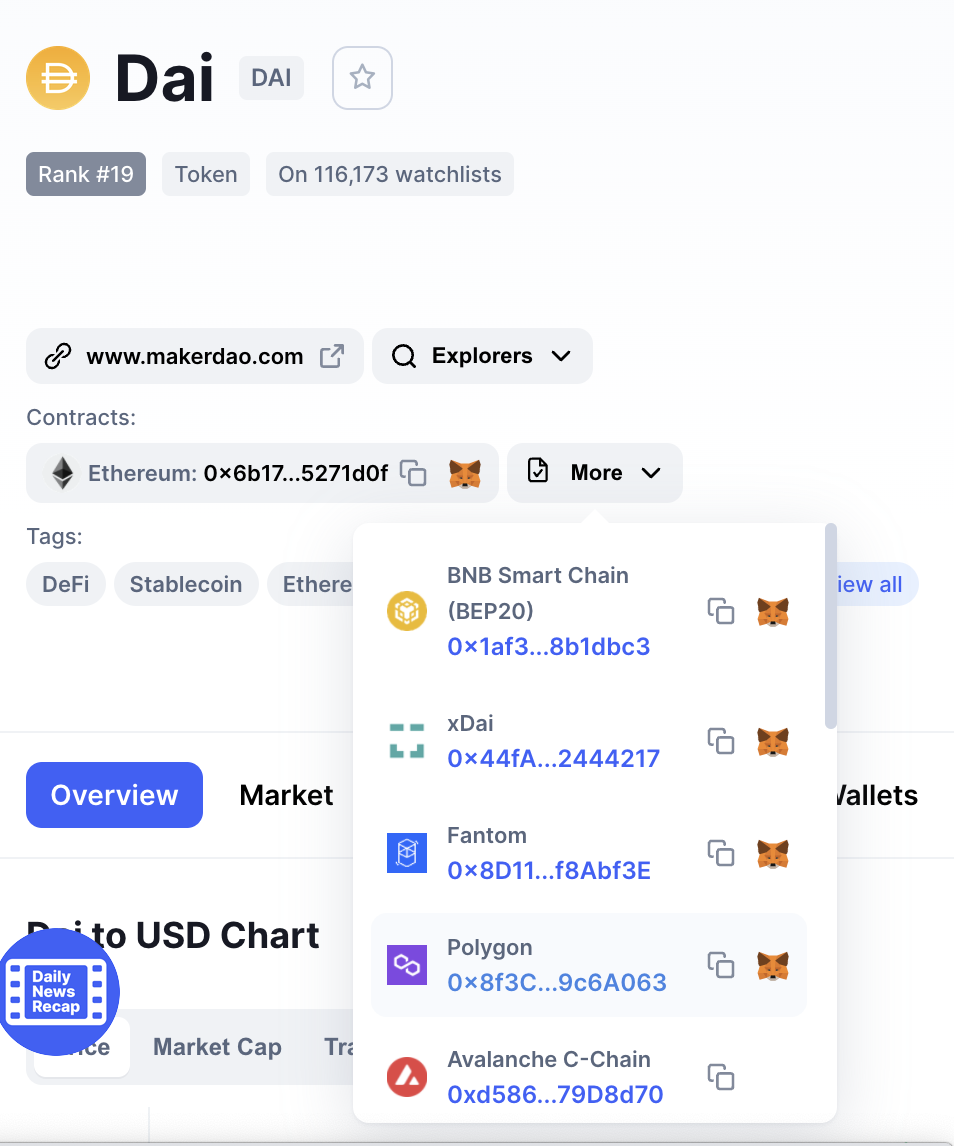
7. Copy the contract code and paste it to your MetaMask, and click on “Add Custom Token,” followed by “Import Tokens.”

It’s done! Now you are ready to start buying $MSU, and we’ll show you how to do it on the next article!


